How To Trim Your Puppy's Nails
How To Start Easily Trimming Your Dog’s Toenails at Home!
Nail trimming for dogs is incredibly important. But this process can be considered a pain and is often overlooked or procrastinated—especially with working dogs. It’s understandably viewed as a hassle without the adequate tools, knowledge, or techniques to successfully complete this process; however, the last thing you want to do is put off trimming your dog's nails!
Why is Trimming Your Dog’s Nails Important?
Did you know that not regularly trimming your dog's nails can actually pose risks for them? If their nails get long and break, it causes problems down the road for them. Starting this process early on in your dog's life helps them to be more obedient and easier-to-handle dogs so that you can trim their nails throughout their entire life!
It may surprise you that something so seemingly simple as not cutting your dog's nails can lead to so many painful issues, yet it can! Keeping your dog’s nails trimmed and well kept is very important for their overall health. When you don't consistently trim your dog's nails, their overgrown nails can lead to a variety of health problems and discomfort. This can happen when they walk or put pressure on their paws, and can even eventually lead to joint pain as well as ingrown nails. Ingrown nails are when the nail starts to grow into your dog's paw pad and swell, resulting in a lot of pain and can lead to infection.
Dogs' nails grow very quickly and should typically be trimmed around every three to four weeks. While the exact timing may vary for each dog, a good rule of thumb is to make sure their nails are never touching the ground while the dog is standing up!
How to Begin Trimming Your Puppy’s Nails
When you start this process with your puppy, it's important to exercise patience. In the beginning, your puppy will probably be squirming around a lot, so it's easiest if you roll him over onto his back—this is going to give you an easier way to look at his paws and be able to trim his nails.
Remember that this is a learning process for you and your dog. It may or may not be new to you, but it’s completely new to your puppy. Make sure that you complete this process when you have plenty of time and don’t feel rushed! It may take around 15-20 minutes or longer in the beginning.
Make Sure Your Dog is Calm
Now, the key to this process is to take the time needed to make sure your dog is settled down before trimming each nail. The first few times that you trim your dog's nails, it's going to take a while—and that's okay!
Something to keep in mind is that using the right tools will make this process much easier and smoother. When you start using your nail trimmer, it's best to use a smaller trimmer, not a big jumbo size one—especially with little puppies. This helps give you more control over each nail that you're trimming!
If your puppy is having a hard time becoming calm, you can help him settle down just by holding him until he's relaxed. Then you can begin to trim each individual nail. It's completely normal for your puppy to squirm around quite a bit when you start this process—he may be distracted or a little anxious; this just means you'll need to take time to work with him until he's focused and calm!
Feel free to take some time focusing on rubbing his belly or petting his ears to help comfort him. Just make sure you do this calmly so that you're not exciting him again or getting him worked up!
If you start to trim a nail and he starts to shake around or move, simply take a second and pause. Making sure that he's calm and well-mannered for each nail helps develop good behavior and also prevents him from accidentally getting cut while he’s squirming. That's why this process can take a little while to begin with, especially with an energetic puppy!
Cut the Nails the Appropriate Length
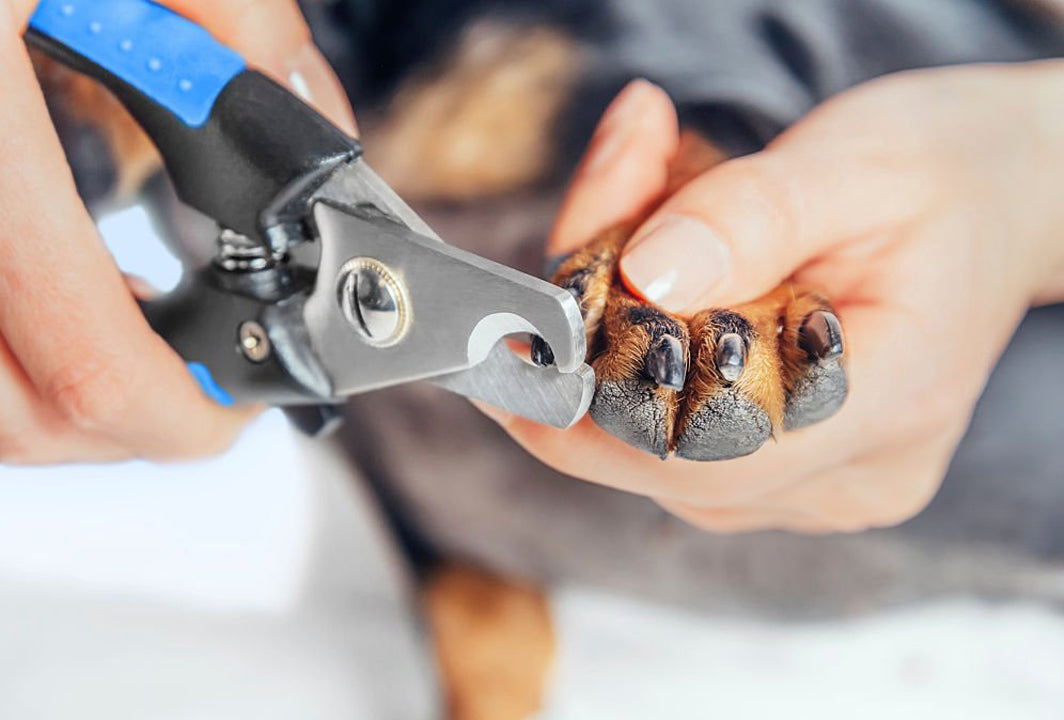
Now for the most important question—what is the perfect length for your dog's nails? While the perfect length to trim your dog's nails varies depending on your dog's size, breed, and individual nail growth rate, the general guideline to keep in mind is to cut to the quick. The quick is the sensitive, blood-rich tissue inside the nail and it can be very painful for your dog if you accidentally cut into it.
If your dog has light-colored nails, you can often see the pinkish or reddish quick through the nail. On dark-colored nails, it can be more challenging to see the quick. If you’re unsure where the quick is on your dog’s nails, then just play it safe and leave the nail longer rather than going shorter and accidentally hurting him.
Find Out What Works for Your Puppy
The best thing you can do for your dog is to put emphasis on the trimming process when he's young; this will make this process much easier when he's an adult! If you notice your dog squirming a lot, then you may have to adjust your technique a little bit. For example, you may notice that your dog is calmer if you bring his paw closer to him or if you simply pull it up a little bit higher while you trim.
Just keep experimenting to see which tactic works best for your dog, and you’ll eventually find the right method for the both of you that makes the nail-trimming process the easiest. Once you have finished his front nails, you can move on to his back ones. As you continue, remember to just take your time, be patient, and be prepared.
Remember, the most important thing is to not rush this process! Soon, you and your dog will both become more comfortable with this process!